OpenROV Nearly Complete!

Untitled
Spent a good chunk of time this week trying to get the OpenROV finished up.  After a long day of wiring, fussing, the crimping of many Molex pins, and a harrowing unwinding and untangling session with the tether wire, I was able to finally plug everything in.  It booted on the first power up!  Next week I hope to get the motors wired up and working, and then we’ll throw it in the water and see what we can see.

Success! KAP over Georgetown School

The weather is changing today, bringing cooler temperatures and, most importantly, steady wind. I took the KAP rig down to the local grade school, and after some fussing, was able to get it up in the air. At about 100′ feet the kite found a steady wind, so I attached the picavet to the line and sent it up.  The kite kept pulling like a champ, so I kept feeding it line until the line ran out.

Kite Aerial Photography - Georgetown School

After a few more practice runs, we’ll send the IR camera up, hopefully at Wakamatsu or over the wetlands below the college.

Bringing the KAP Rig Down

Kite Aerial Photography (Sort of) at Wakamatsu Tea and Silk Colony Farm

Untitled
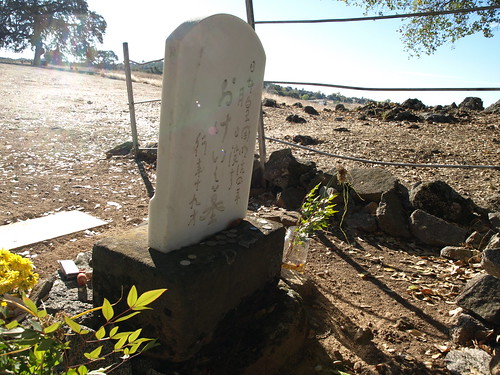
Spent the day Friday touring Wakamatsu Tea and Silk Colony Farm, an historic area above the American River in Gold Hill with one of co-conspirator Jason Pittman’s California Geography classes.  Visited the grave of Okei, the first recorded burial of a Japanese woman in the United States.

P1013164

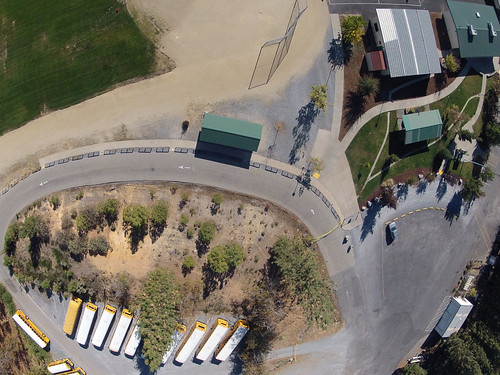
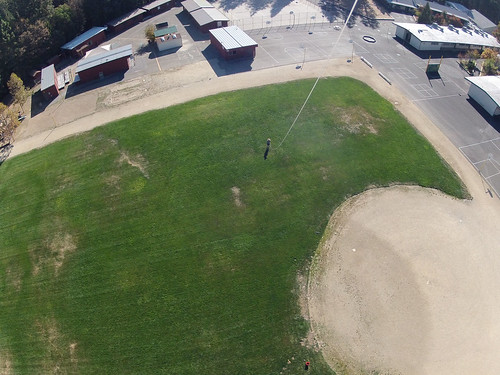
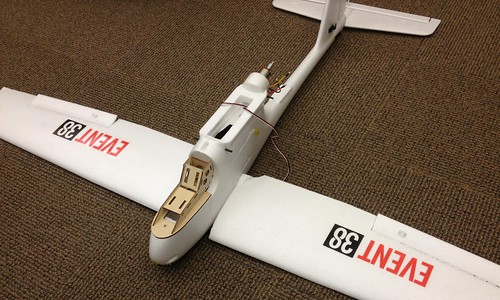
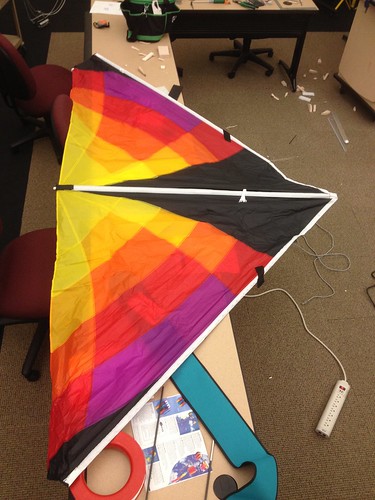
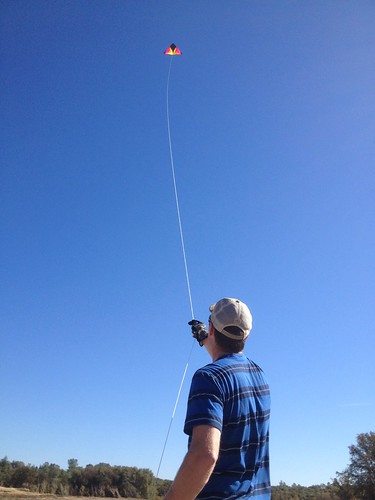
Jason and his students have done some work for the American River Conservancy in the past, GPSing trails and the like, and we’re working on a plan to do some aerial imaging in support of ARC’s Wakamatsu re-vegetation and de-vegetation efforts – yellow star thistle is a mean invasive weed, and it is everywhere on the Wakamatsu property (and throughout the county).  Following the tour, we assembled and practiced flying the delta. The anemometer was registering inconsistent winds at ground level in the 2-4 mph range, which was enough to get the kite up in the air a few times, but not enough to keep it there, nor to allow it to really lift the camera rig.

Untitled
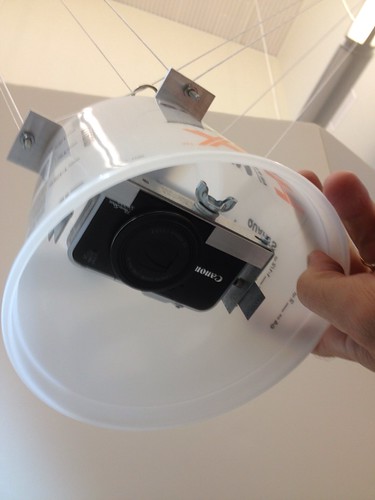
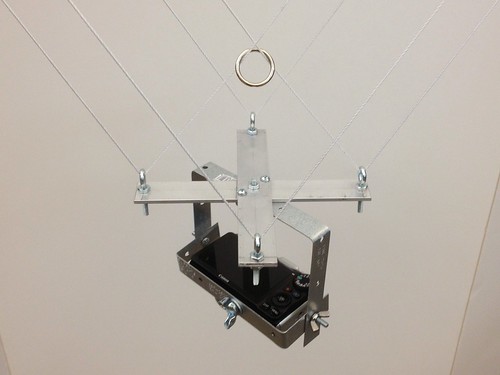
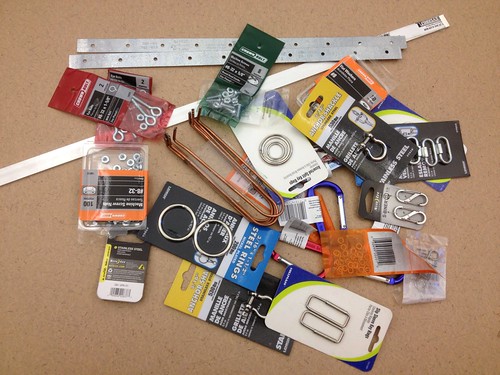
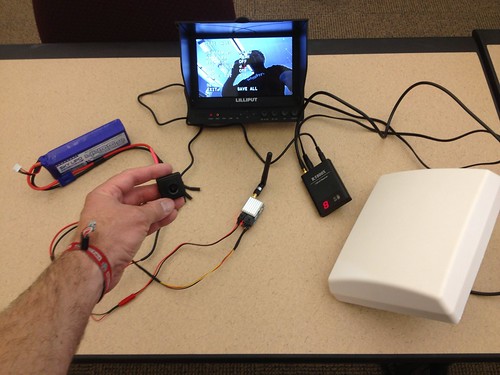
Though we weren’t able to gather any images, we did learn a lot about flying the kite, rigging the picavet, and what to include in our KAP kit.  All in all a successful day.  Always be prototyping!

Picavet 2.0 – Now with 100% More Bucket!

Modified the original design a bit, moving up to 2″ aluminum bar stock for the cross, to allow for the camera to hang on the same plane as the balloon string.

Untitled

I also added a bucket, which I’ll foam up in an attempt to protect the camera in a bombs away scenario. 2 and a half quarts of security theater!

Update: I walked over to Printing Services and weighed the picavet rig with camera in place. 1 lb, 3.2 ounces. Given the helium shortage, we’re looking into kites as an alternative, and the rig weight will inform the kite selection process.

Picavet Parts

In preparation for some weather balloon flights, we’re working on building up a picavet, which will keep the camera level and steady regardless of the angle of the string – you can read all about them here:  http://www.kaper.us/basics/BASICS_picavet.html

After a couple of hours at the local hardware store, I ended up with a big pile of little parts.

Picavet Parts

I set to work this morning, and was able to knock out the basic framework for the part that attaches to the kite/balloon string:

Basic Picavet Frame

Lots of guidance on the web – I drew inspiration from http://www.arch.ced.berkeley.edu/kap/equip/picavet.html#no3.

Next is the camera mount, which attaches to the suspension frame pictured above.  We hope to test it out next week, and to tweak and adapt in advance of a project that will see students doing some aerial and ground surveying of a local nature area.

Progress – POV Camera for Quadcopter

Untitled

Spent some time in the workshop today in between meetings, and finally got the POV camera powered up and working. I fashioned a little custom wiring harness using JST connectors for power, reconfigured the A/V cable that came with the transmitter, and powered up the system.  Behold – video!  From left to right:  LiPo battery (in this case powering Tx and Rx), camera, battery powered field monitor, transmitter (this and the camera will be housed on the quadcopter), receiver, and antenna.

In other news, the HoverFly Pro (a version of the flight control board that has some useful features, including auto level) arrived as well, so I’m working on upgrading the quadcopter with that and the POV video system. I hope to be flying again – and exploring local lakes with the OpenROV – in the next couple of weeks!

Lots of Moving Parts: The Plant Stress Camera

Though it can at times be overwhelming, one of my favorite things about working on a complex project is the vast number of things – some small, some large – that one has to learn to make it all work.  For this phase of the project, we procured a plant stress camera, which is destined for the ArduPlane and perhaps the quadcopters as well.
ImageJ
The camera – a Canon SX230 HS modified by LDP LLC/MaxMax.com – arrived recently, and I fired it up today to take some pictures of plants.  I’ve also been reading up on ImageJ, a public domain, Java-based image processing program developed by the National Institutes of Health here in these United States.  I don’t know much about it yet, but the software is extensible via plugins and macros, and the vendor provided various macros to convert RGB images into color scaled Enhanced Normalized Difference Vegetation  Index images, or ENDVI.

The camera also needs to be updated with the Canon Hack Development Kit (CHDK), custom firmware that enables, among other things timed, continuous shooting, which is critical for our purposes.  I’ll be updating the camera with that just as soon as I can read up on it.  Onward!